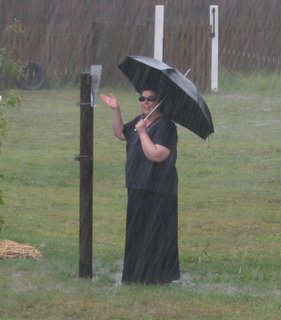
Where are the B's hiding? This is an ongoing series in the tradition of "Where's Jonathan".
Sunday, February 26, 2006
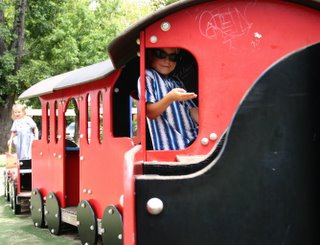
B5 is monkeying around
 The rules of B Where's is that the person in the photo must wear sunglasses and point with an open hand to the subject of the photo.
This can get quite difficult when leaping from rung to rung on a monkey bar but B5 had to show us how monkey bars work.
B3 shows the way round
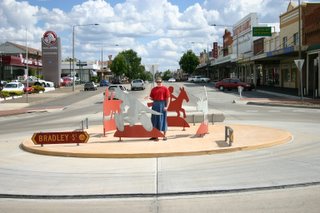 In England, Jonathan is pondering how people can miss going round the roundabout.
In Australia, many roundabouts have gardens, walls or sculptures in the middle so that no-one can get too confused.
Just in case, B3 is pointing out the correct way for any oncoming drivers.
Saturday, February 11, 2006
B4 and B5 find the Goulburn War Memorial
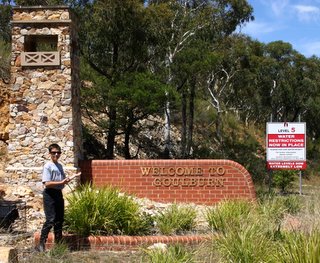 Today we gave B2 a break and we all went for a trip to Goulburn leaving her home in the peace and quiet. Whenever we enter Goulburn we pass this sign (which B4 is kindly pointing out) welcoming us to the city. The tower is a model of the war memorial tower. Today we decided to actually visit the tower.
It stands atop the nearby hill providing a grand view of the town and surrounding area, as well as being a memorial to those that fell. Inside the tower is a marble wall listing the names of those who fought from the local area in the last few wars. An electric "flame" burns in front of a sign with the familiar "Lest We Forget" on the wall.
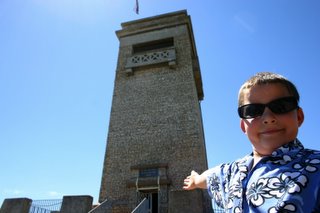 B5 is kindly pointing out the actual tower with the Australian flag flying proudly on top. Unfortunately we couldn't get to the top of the tower as it is closed for renovations. The War Memorial Museum was open so we had a quick tour of the exhibits. We learnt something new about the Fall of Singapore to the Japanese in World War II. It fell to a bluff. The Japanese were running out of food, ammunition and supplies. British reinforcements were due any day. So the Japanese commander fired as much artillery shells as he could to give the impression of unlimited supplies and attacked even though the odds were 1 to 3 in the defender's favour. And Singapore surrendered.

